

Showing posts with label MAKE UP. Show all posts
Showing posts with label MAKE UP. Show all posts
Wednesday, February 24, 2016

Saturday, February 13, 2016
Happy Valentine's Day!!!
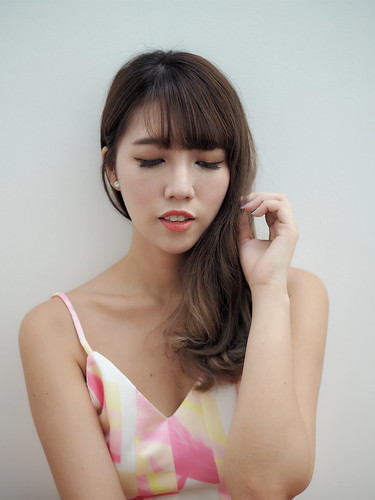
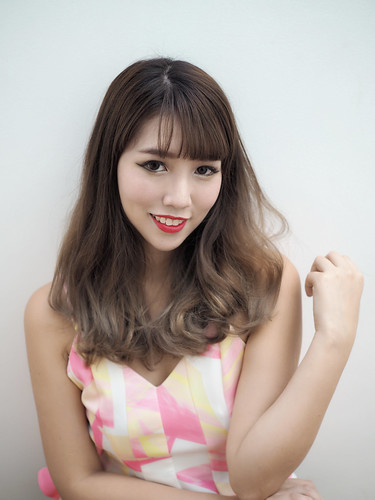
Sorry for the lack of updates~ But anyhowz, I did a new video for this Valentine's!!

Saturday, January 30, 2016
Hera, Iope & Sulwhasoo BB Cushion Review
Hope y'all liked/enjoyed this video and if you do, do help me give a thumbs up & subscribe to my channel!
Till the next,
Love, Shenny
Monday, January 18, 2016
Red Lippies
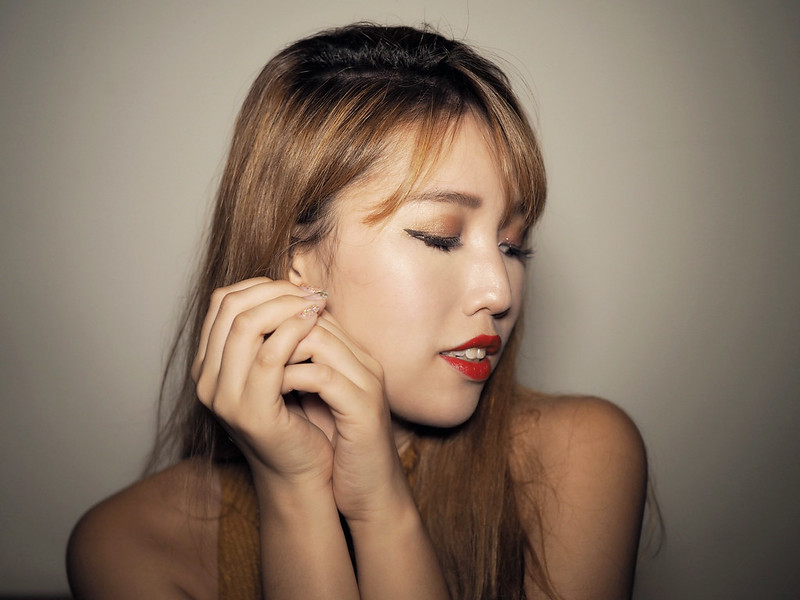
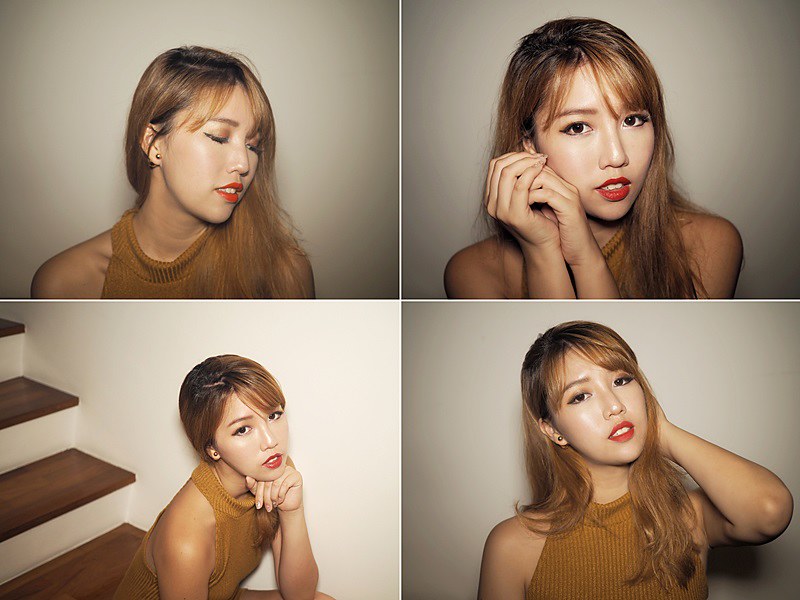
Red is the colour of passionate love. Red is a hot, strong and stimulating colour and I think it's sexy when painted on the lips. In this post, I'm gonna share more about the different kind of red lipsticks!
Monday, December 21, 2015

Friday, October 02, 2015
Sunday, May 17, 2015
Burgundy Make-up Tutorial
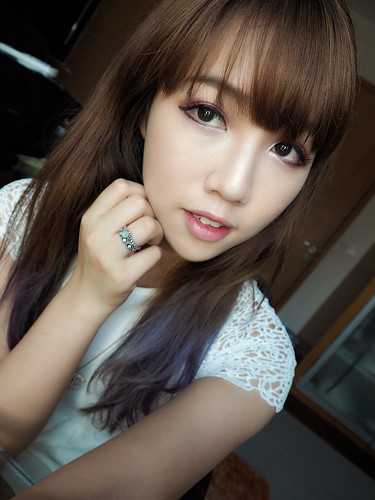
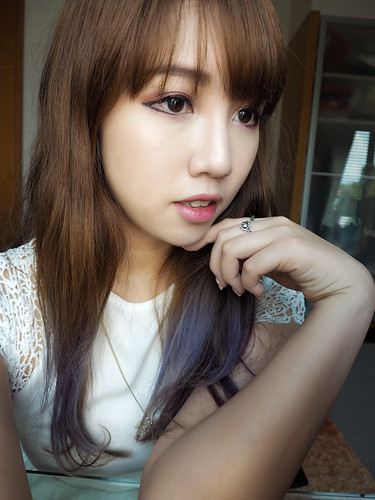
2nd look using a Red Lipstick!
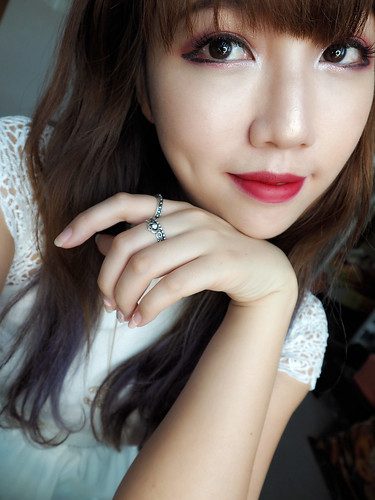
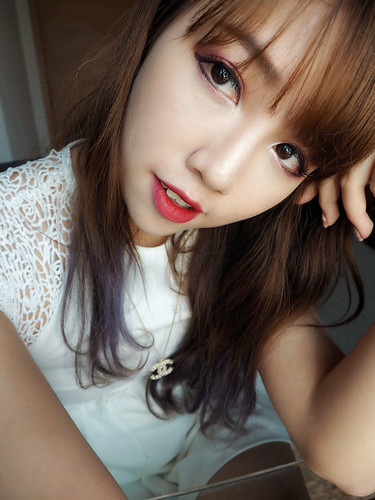
Watch it here!
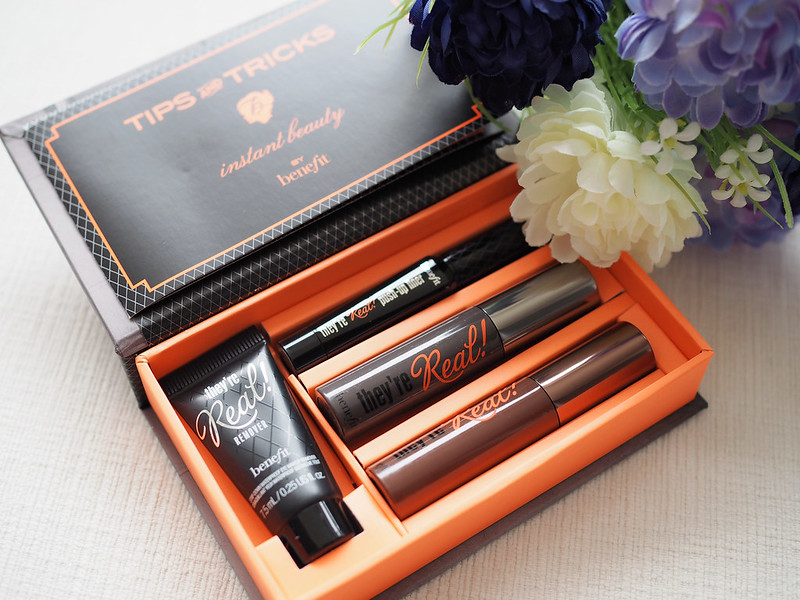
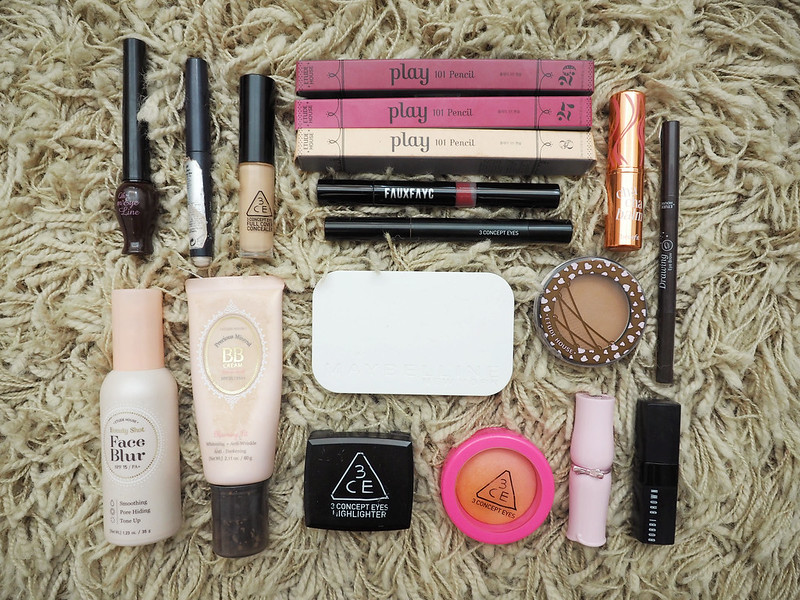
These are the make up that I used in the video:
Wednesday, March 25, 2015
Vlog: Hair Bun Tutorial!
Monday, October 06, 2014
Everyday Makeup with Apex Beaute Brush Set!
Today's post will be a guide on my everyday makeup!
Actually I haven't really changed the way I do my 'daily makeup look' but thought it'd be good to share again!

And I'll be achieving this look using these brushes from APEX BEAUTE.
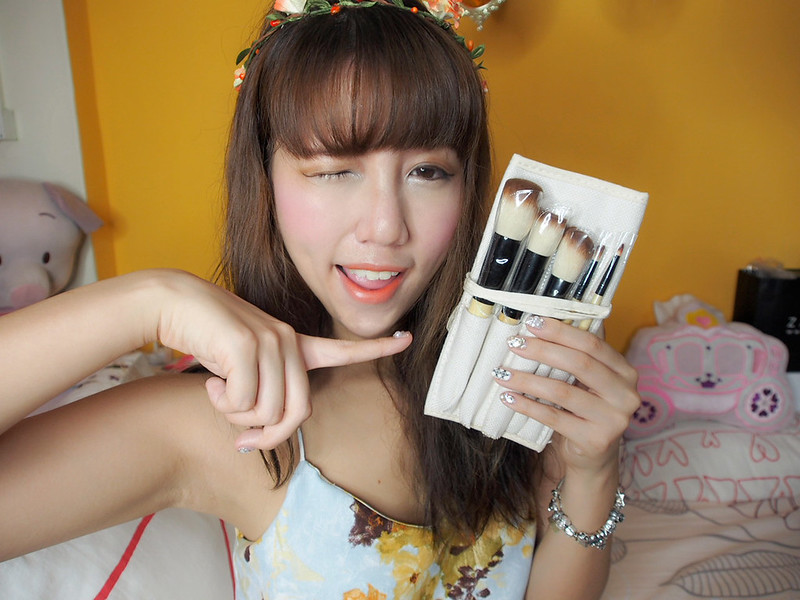
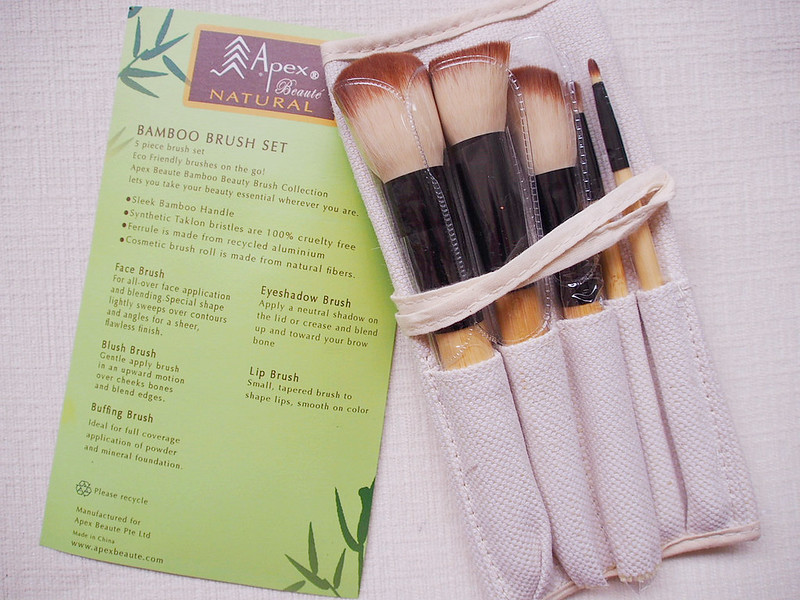
This is the 5 piece Bamboo Brush Set ($25.90)
These are eco-friendly brushes and the synthetic taklon bristles are 100% cruelty free!
Ferrule is made from recycled aluminium and the brush roll is made from natural fibers :)
For the girls with sensitive skin like me, rest assured the brushes won't irritate your skin!
Hokay so let's get started with my everyday makeup look!
I can usually get this done in 10mins (provided I have no distractions like using phone.. hahahah)
STEP 1
APPLY BB CREAM

Here, I am using the Face Brush.
It is good for an all-over face application and blending. You can also use it to contour your jaws!
STEP 2
EYESHADOW

Using the Eyeshadow Brush, I am creating a contour above my eye crease.
Use a dark brown shade for the contour and blend away!
STEP 3
EYELINER
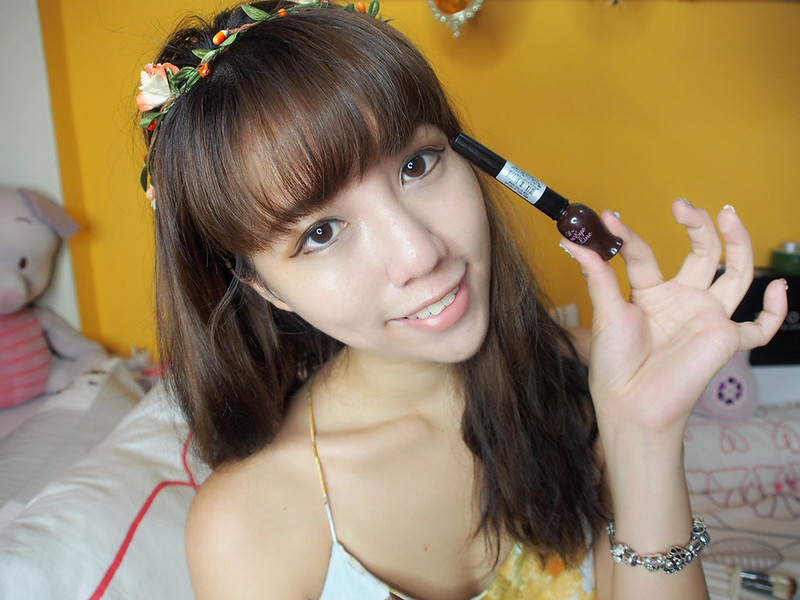
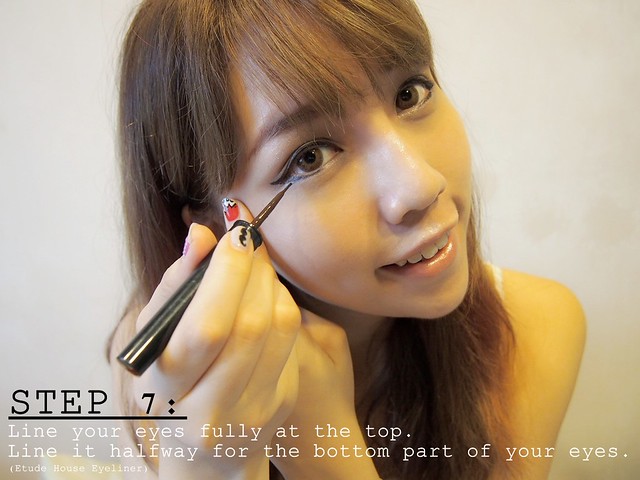
I like to line the entire upper eyelid + halfway through my bottom eyelid! :)
STEP 4
CONCEALER

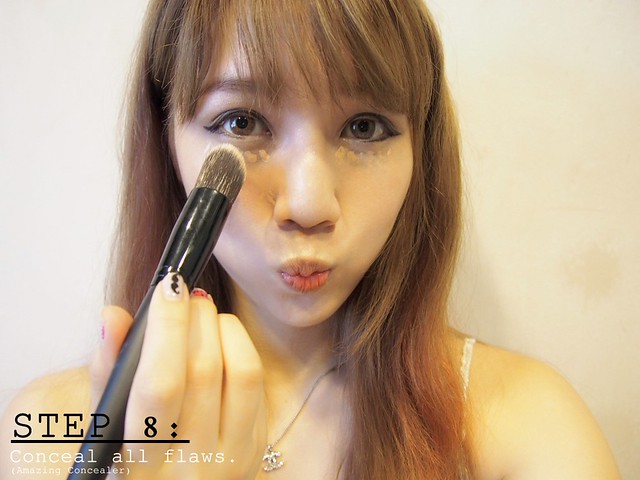
Conceal all imperfections and blend away!
STEP 5
POWDER FACE
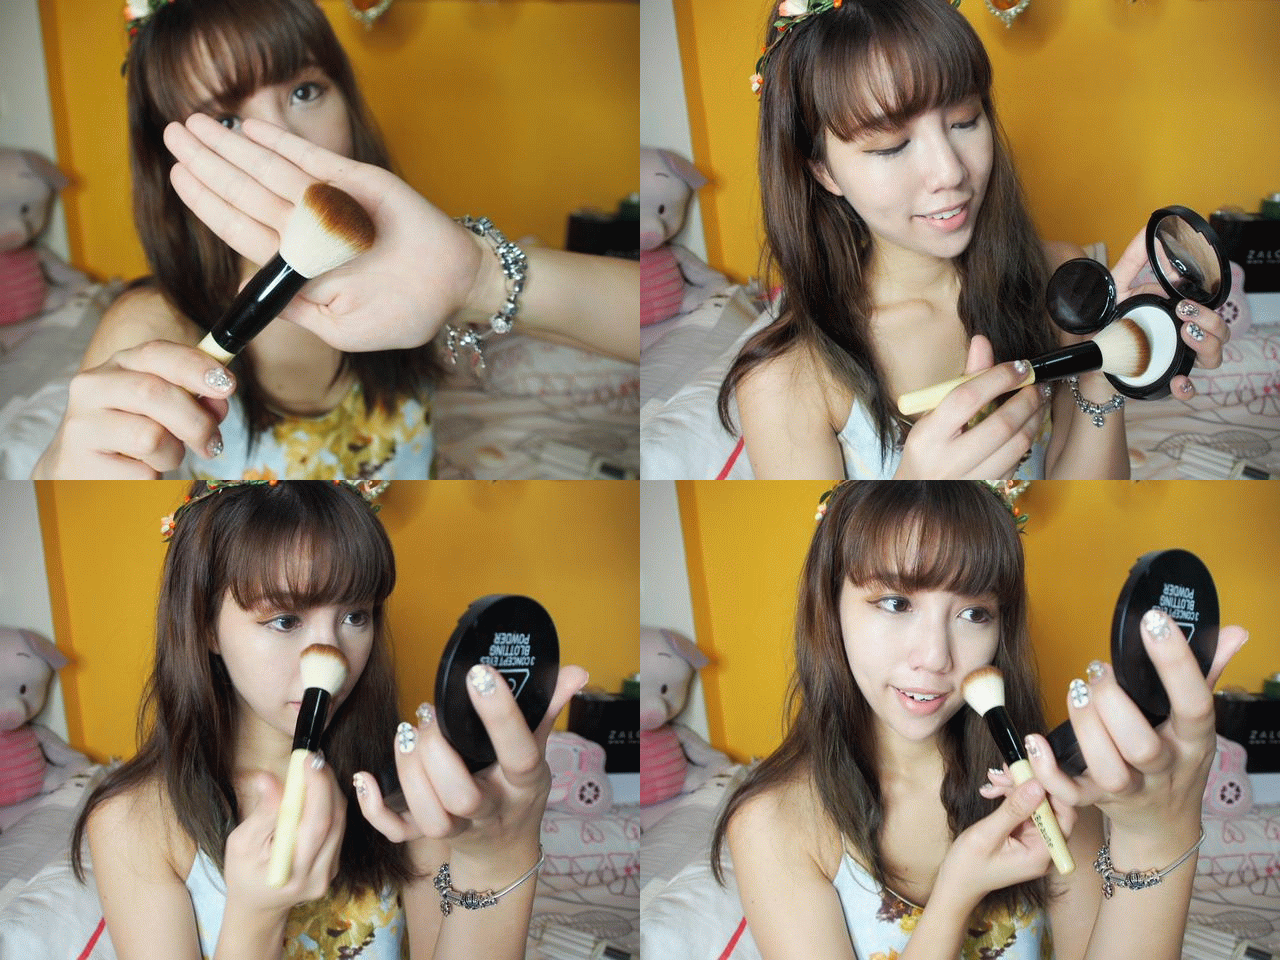
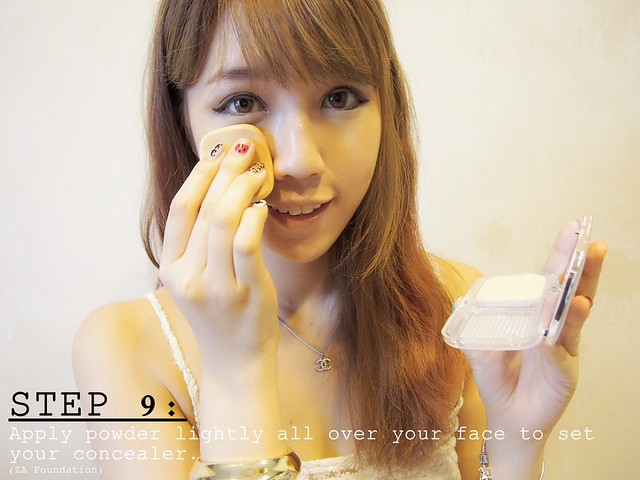
With the Buffing Brush, lightly sweep your powder over entire face to set the make up!
This brush is ideal for full coverage application of powder and mineral foundation!
STEP 6
SHIMMER EYESTICK
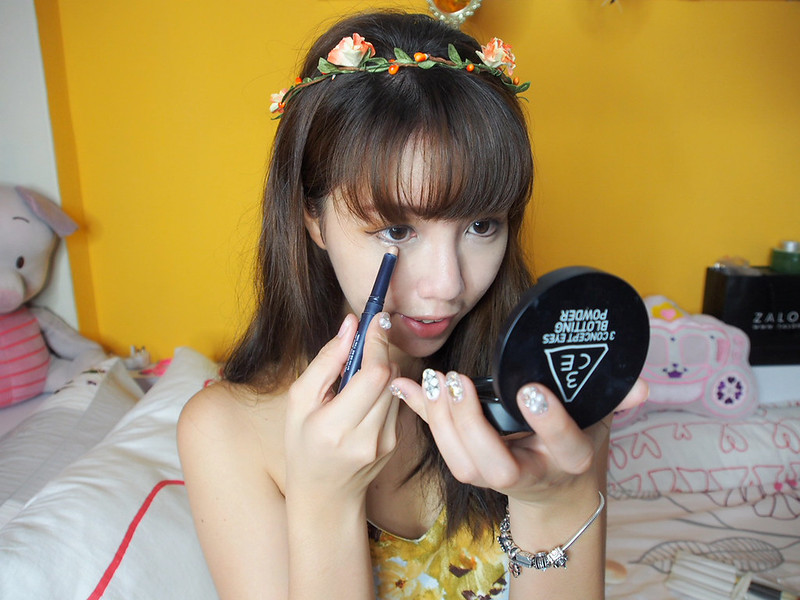
Using a bronzy-gold shimmer eyestick, apply some right under the eyeliner you drew on the bottom eyelid!
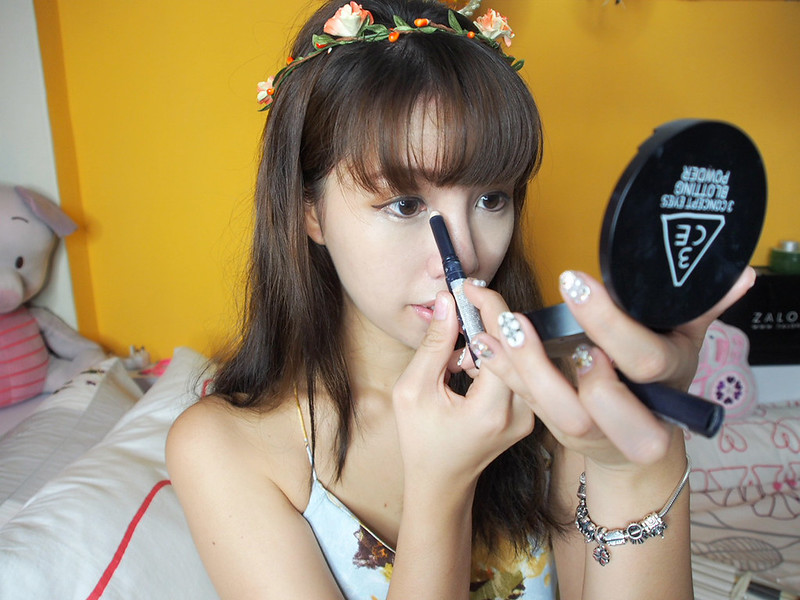
Then use a white shimmer stick, apply on the inner corners of your eyes!
YAY ALMOST DONE!!!! :D

STEP 7
BLUSHER
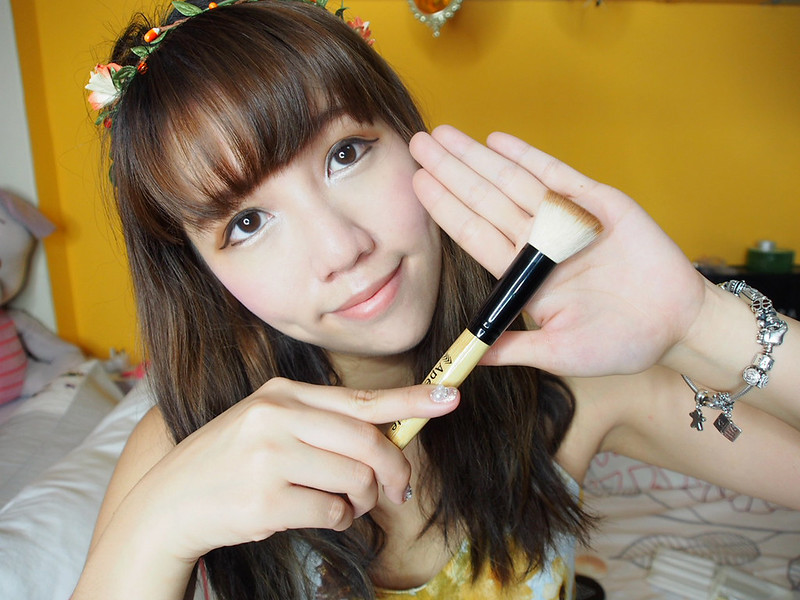

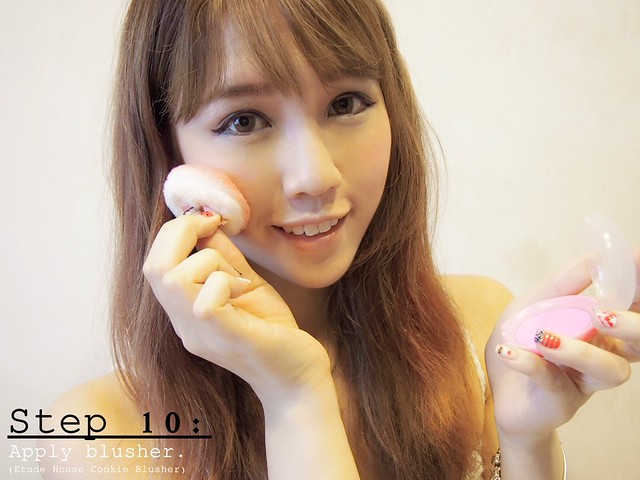
Using the Blush Brush, gentle apply your favourite blusher in an upward motion over cheek bones and blend the edges.
STEP 8
CONTOUR

With the same eyeshadow brush & brown eyeshadow, lightly contour the sides on your nose to give the illusion of slimmer nose!
STEP 9
HIGHLIGHT

Highlight the nose, cheek bones and chin!
Highlighting the nose makes the nose looks sharper :)
STEP 10
LIPSTICK
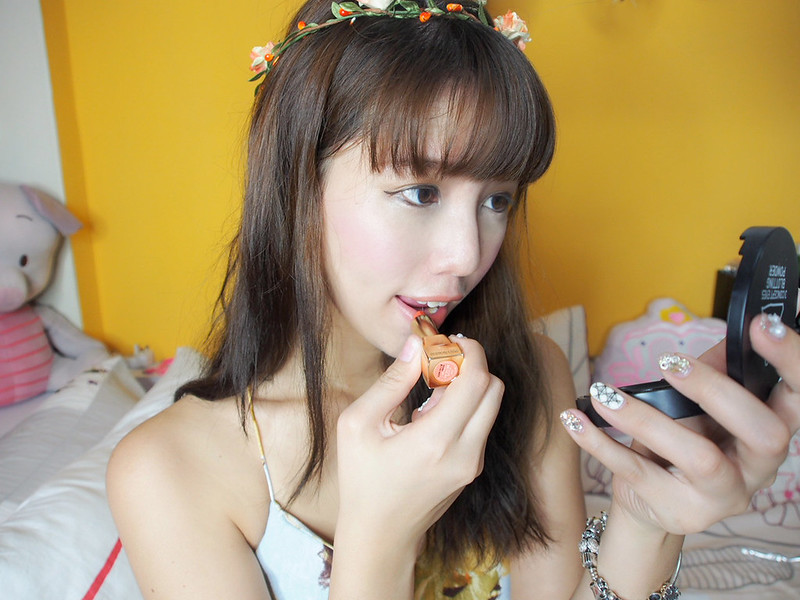

Here I am using one of my favourite lip colour from Missha! It's a very natural coral shade :)
Apply it lightly over entire lips!
Then using the Lip Brush and a brighter orange lipstick, apply the colour only on the inner parts of the lips to create a gradient :)

AND THERE YOU HAVE IT!!!! :D
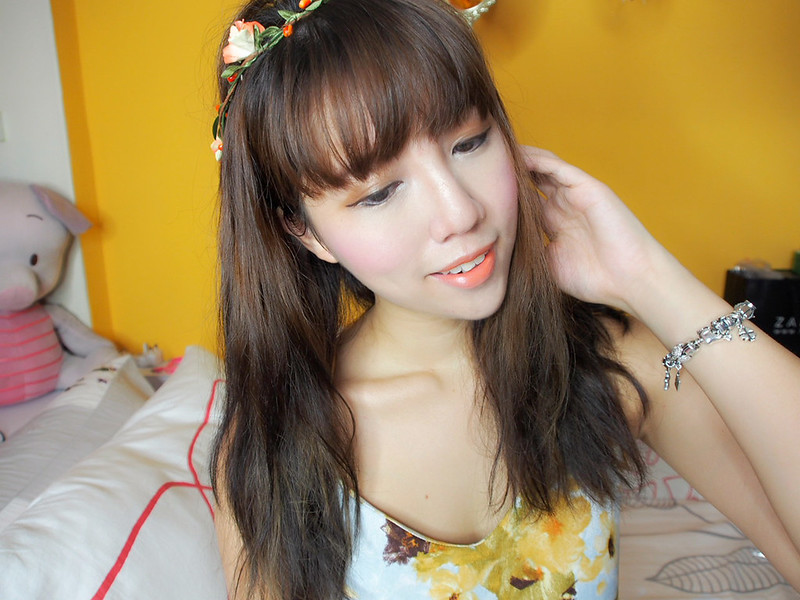
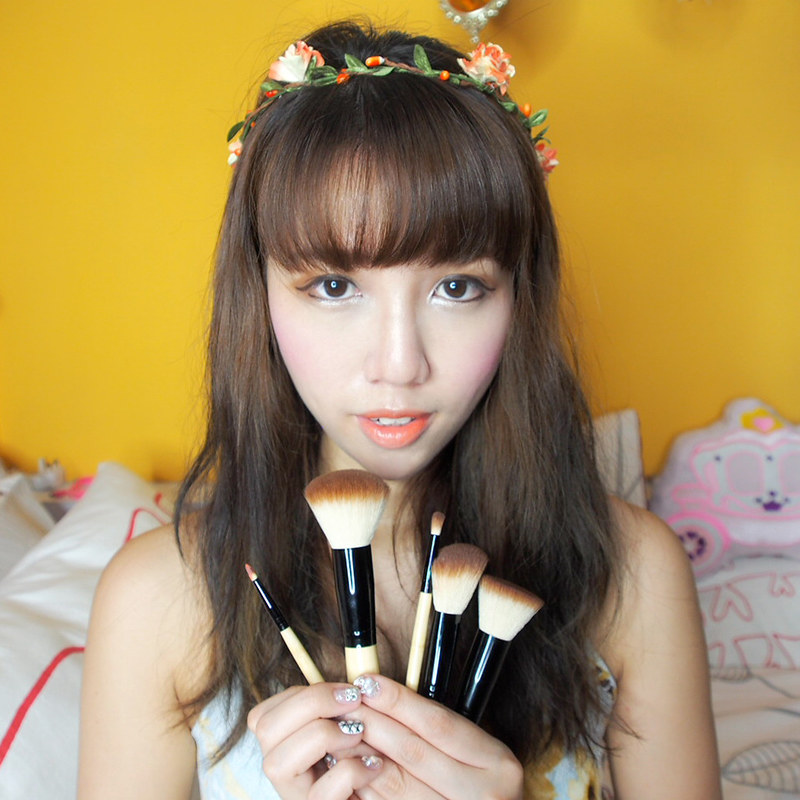
Simple makeup that you and I can all achieve with the help of these makeup brushes!!
I really love how soft the brushes were and that they didn't irritate my skin!
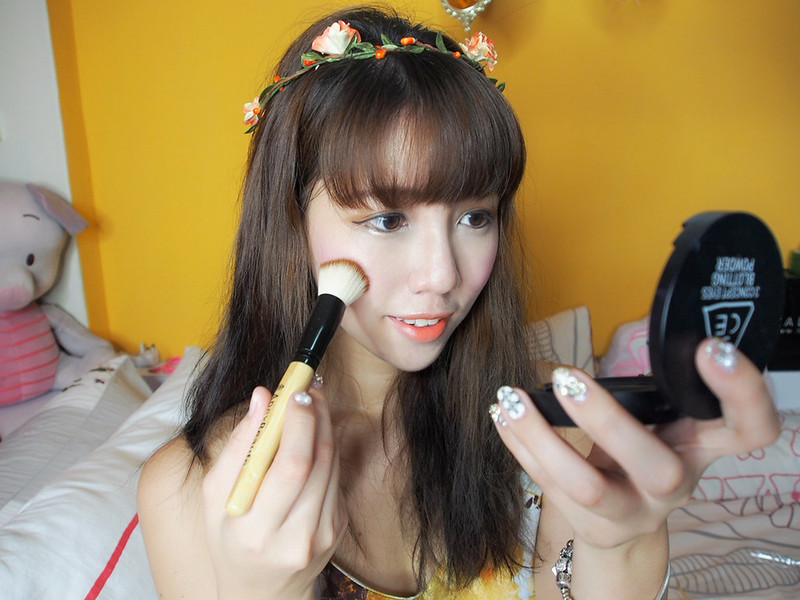
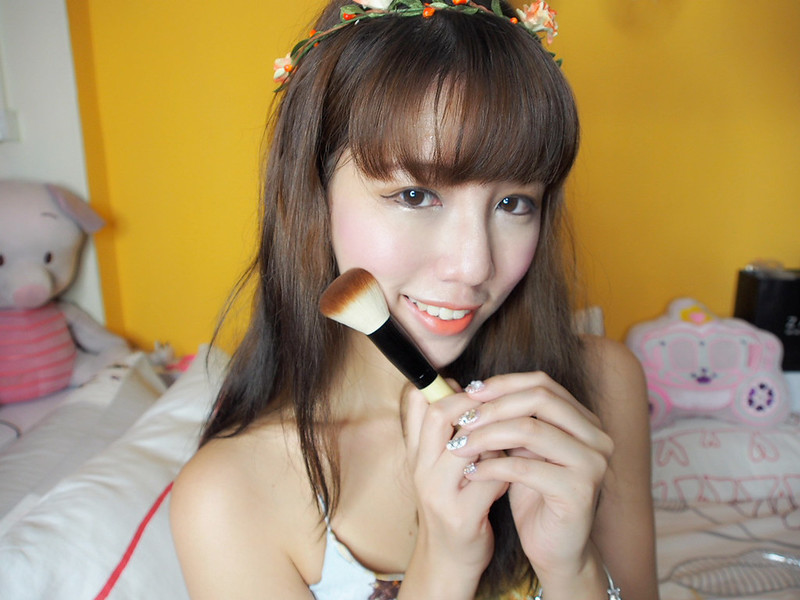
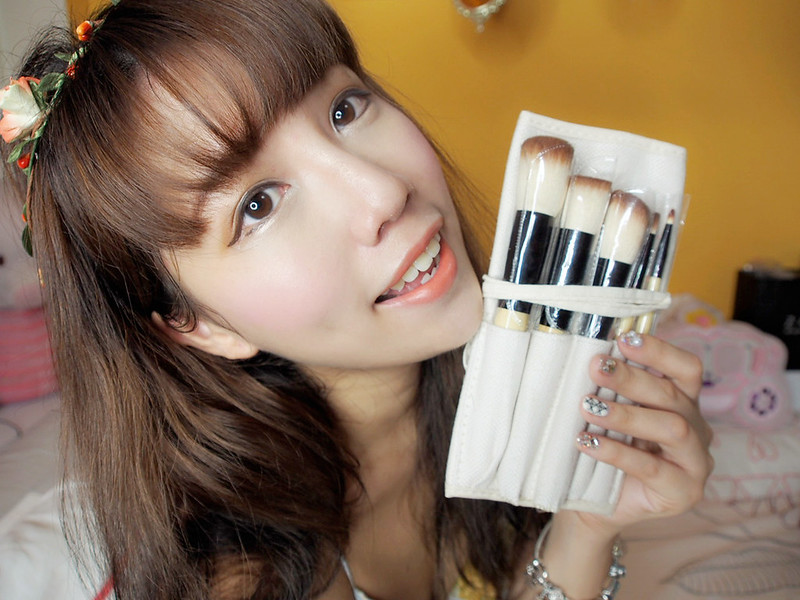
If you're interested in this 5 piece brush set too, here is the link:
It's only $25.90 for 5 brushes!! Super worth it I would say. I used to spend like $50 on just one concealer brush -______- Hahahaha.
Happy shopping girls and stay beautiful!! ♥

Monday, December 23, 2013
Pictorial Festive/Partying Make-up Tutorial

Today I will be sharing with you girls on how to achieve the above look in 13 steps!!
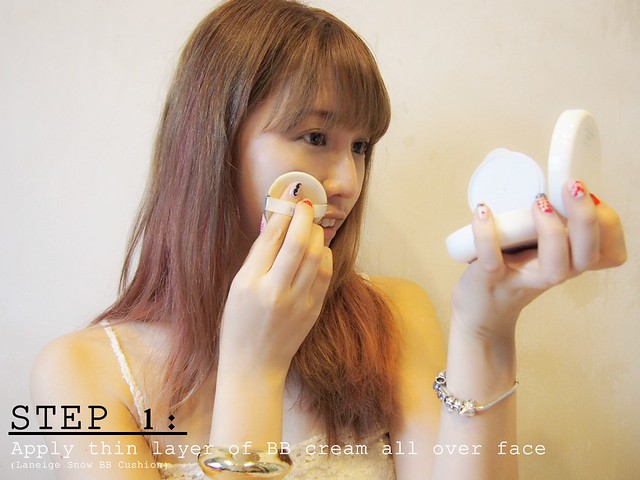
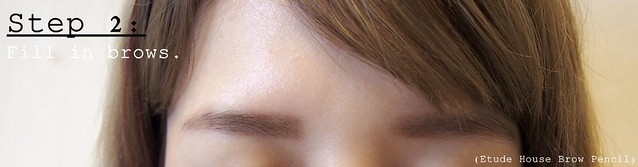
I am definitely NOT a pro in drawing brows and some of you have said my brows are ugly... whatever.
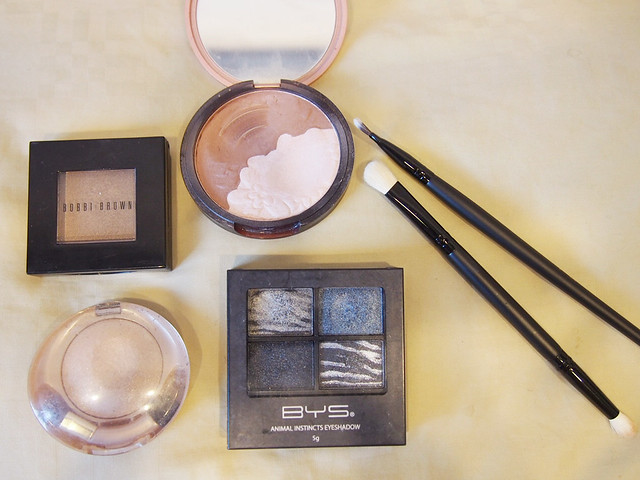
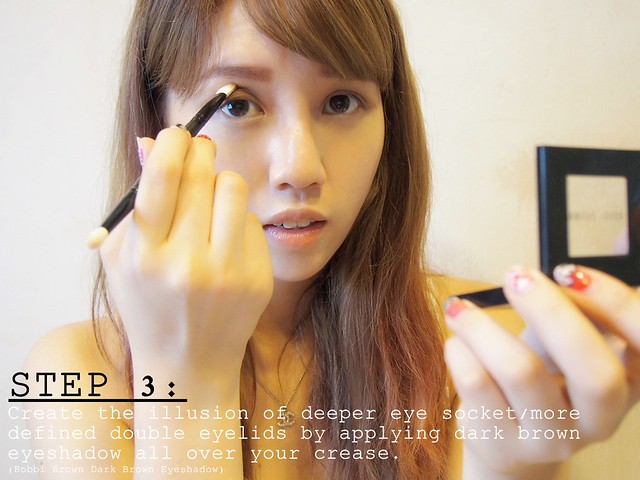
Using LOVEYBELLE Eclipse Dual Eye Shadow & Socket Eye Shadow Brush
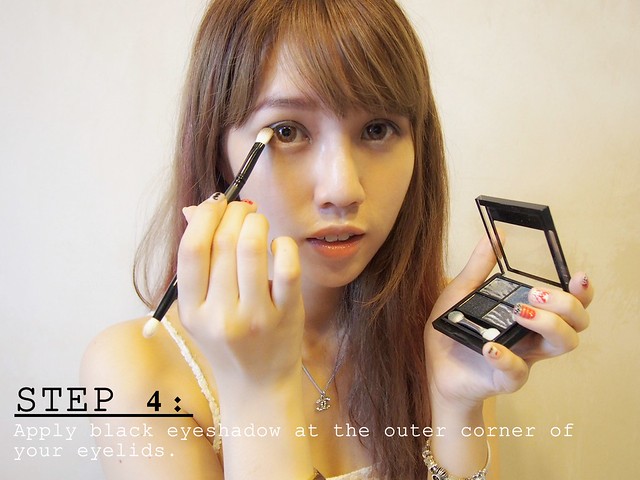
Using the Flat tip of LOVEYBELLE Eclipse Dual Eye Shadow & Socket Eye Shadow Brush
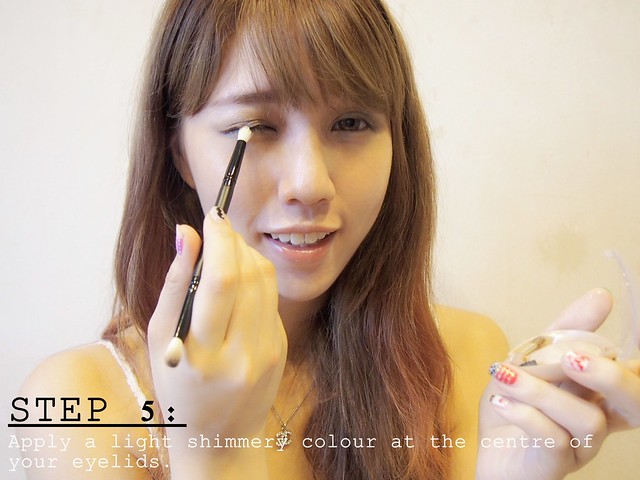
Using the fluffy tip of LOVEYBELLE Eclipse Dual Eye Shadow & Socket Eye Shadow Brush
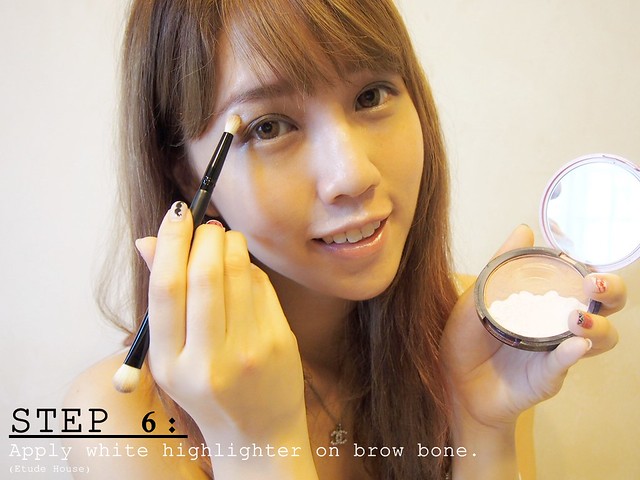
Using the fluffy tip of LOVEYBELLE Eclipse Dual Eye Shadow & Socket Eye Shadow Brush
Using LOVEYBELLE Eclipse Angled Foundation Brush

LOVEYBELLE Eclipse Angled Foundation Brush
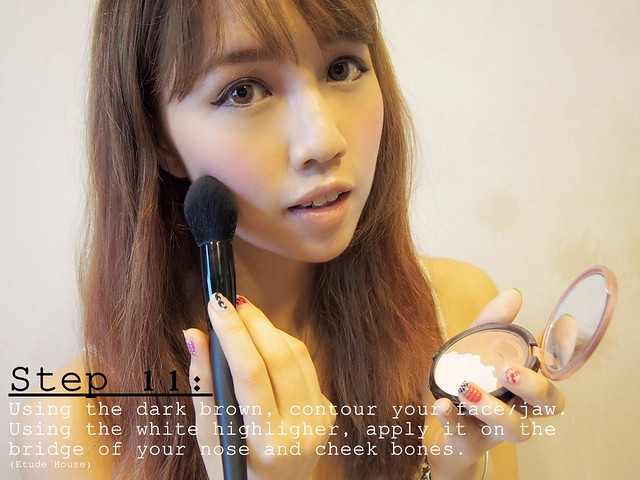
Using LOVEYBELLE Eclipse Tapered Brush
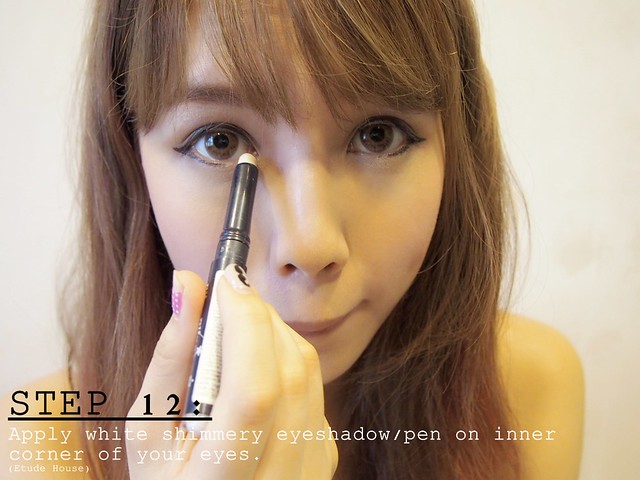
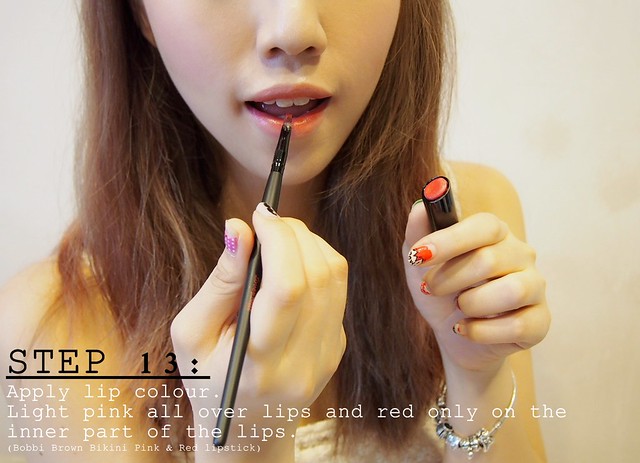
Using LOVEYBELLE Eclipse Lip Liner Brush
This brush helps me create my ombre lips easily without making a mess!
Lastly, put on your favourite pair of falsies and YOU'RE DONE!!
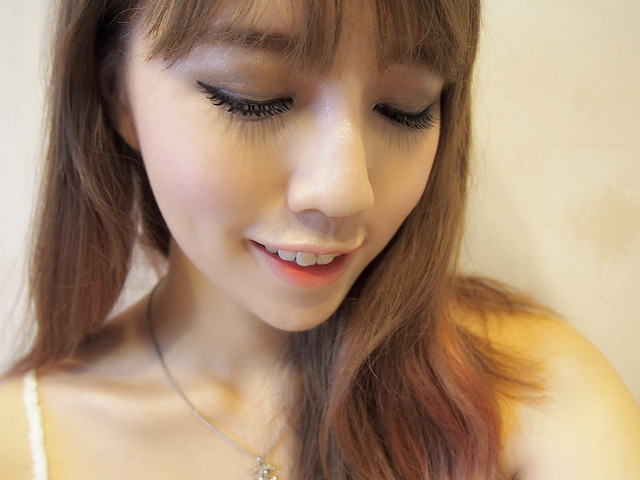

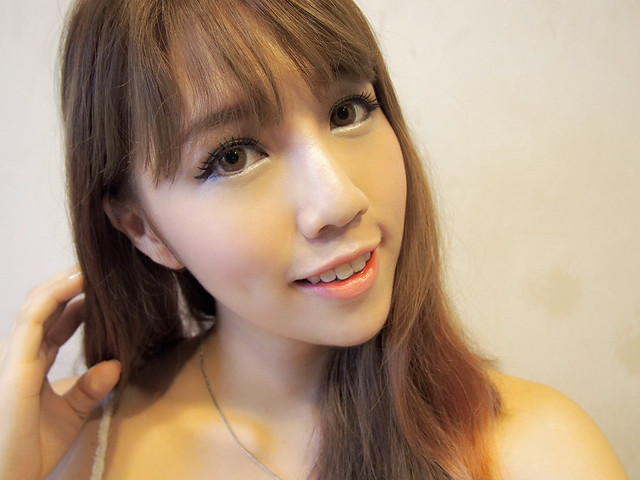

All the brushes from LOVEYBELLE are really made of good quality! I have used really lousy ones before and the brush hair just keeps falling out whenever I'm applying my makeup & it's just so annoying!!??!
I love all the brushes I got from Loveybelle but if there's ONE particular brush that I have to give a special shoutout for... it would definitely be the Angled Foundation Brush!
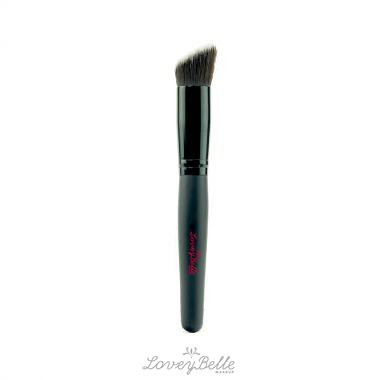
In the past, I'd usually use my ring finger to blend the concealer.. but with this brush, I think the blending is so much easier and my concealer LASTS MUCH LONGER!! It also creates that 'airbrush' effect!
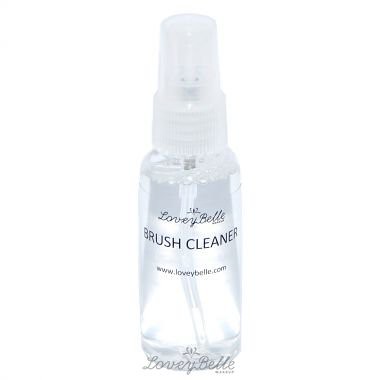
It is also very important to CLEAN your brushes and keep them in tiptop condition!
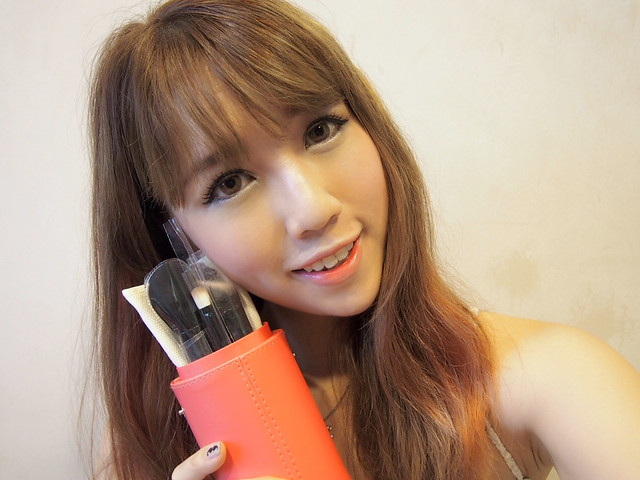
The lovely owner of LOVEYBELLE also sent me this Brush Cup Holder in the most gorgeous shade of Hot Pink! Finally..... all my brushes have a place to stay! Hahah previously they were just lying all over and it was just such a mess :(
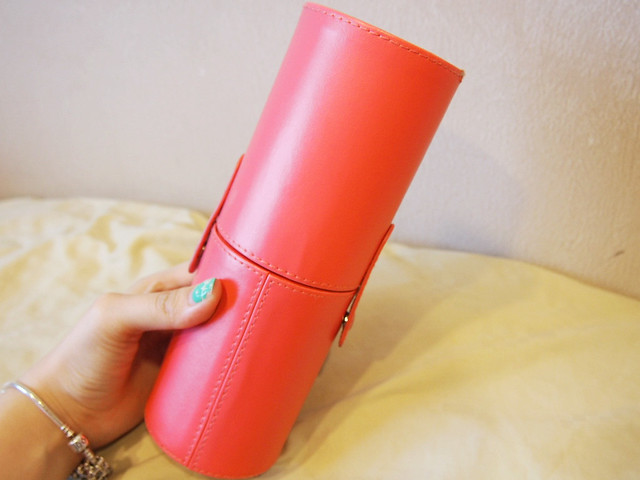
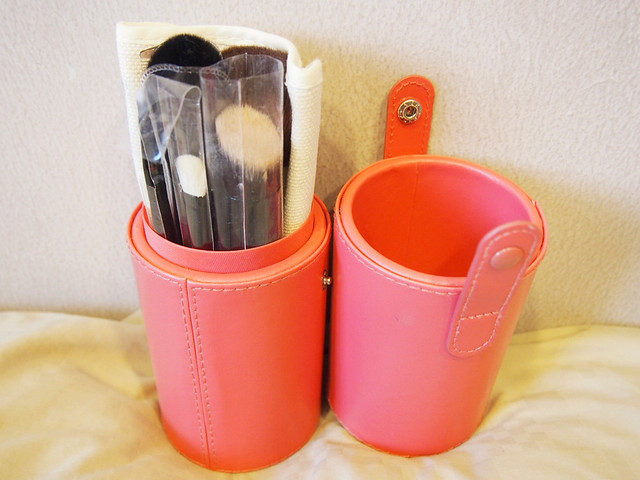
Yes say yay to neat and tidy brushes!!
Subscribe to:
Posts (Atom)